咨询热线:15388025079 咨询热线:15388025079


 咨询热线 15388025079
 时间:2022-05-18 20:34:00 浏览量:1170
土壤水分速测仪的安装及注意事项
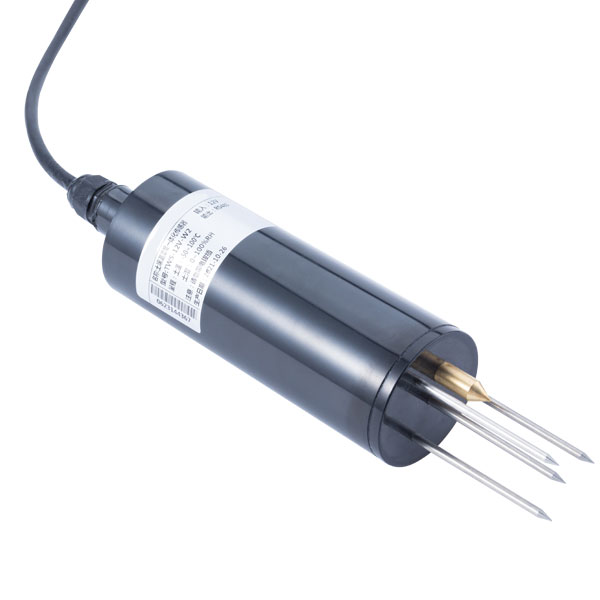
土壤水分仪是NiuBoL研发的产品,又称非接触式土壤水分仪、土壤水分计,是一种基于介电常数原理的传感器,可以动态观测不同土壤层的土壤水分含量,并进行快速、准确、全面的观测,让人们对土壤达到高度的感知。下面NiuBoL厂家介绍一下土壤水分速测仪的安装及注意事项:
1.安装
1. 准备
1)开箱检查
检查外包装有无破损;按照设备清单检查设备及配件是否齐全。
注:土壤钻不包含在湿度计的工厂配件中,如果需要,可以另外购买。
2)工具准备
土钻,纯净水或自来水,水盆,手套(根据个人需要)。
2、安装位置选择说明(适用于农田作物)
1)作物播种后安装设备;
2)安装地点平坦;
3)全面灌溉条件下,优先选择水分较少的区域作为监测位置;部分灌溉条件下,选择湿润区域作为监测位置;
4)选择农作物生长均衡、能代表大多数农作物生长的位置;
5)了解所监测作物的根系分布情况,一般选择靠近作物吸水根系的位置。
注意:设备安装地点应选择在地势较高的地方,防止雨水灌入设备造成设备短路或线路故障。
3. 打孔
1)取土钻机的钻头、手柄、支撑杆。完成后,将取土钻机垂直放置在地面上,双手握紧手柄慢慢向下压,慢慢旋转。(注意:不要用力过猛,一定要慢速多转几圈,防止钻头偏离孔位,钻歪)
2)把土钻从洞里拿出来,放在盆里,用工具把钻出的土收集到盆里和泥浆一起使用。(注意:第一次钻土没有收集起来,因为杂质太多)
3)重复以上钻孔和抽土过程,在此过程中尽量将传感器轻轻放入孔内(不要将设备推至孔底),测试孔深是否合适;如有卡死,则用土钻进行修正,确保传感器能顺利放入和取出;直至孔深与传感器标记的安装位置平齐,钻孔完成。
4.灌浆安装
1)将泥浆慢慢倒入孔内,约占孔的1/2;可根据实际情况增减。
2)将传感器慢慢放入孔内,慢慢朝一个方向转动并压下。速度过快可能会导致气泡未完全排出。(注意:再次转动和压下过程中,不要将传感器往上拉,防止气体再次被吸入孔内)。
3)当传感器安装到正确深度时,设备周围会溢出部分泥浆,注浆完成;此时传感器安装深度与孔齐平。(注意:清除传感器周围超过3CM的多余泥浆,防止结块影响水渗透)。
5.安装太阳能板(不需要太阳能板的用户无需操作此步骤)
1)太阳能电池板位置选择
太阳能板的安装位置应尽量远离传感器,一般距离传感器50cm比较合适,但不要超过电源线的长度。太阳能供电板的面板应朝向太阳方向即南面,正面尽量没有遮挡。
只需将太阳能电池板支架插入选定的位置即可。
2)固定太阳能电池板
将太阳能板的面板固定到支架上,将面板中间的四个孔与支架上的四个孔对齐,然后用螺丝拧紧。
3)连接太阳能电池板和测量仪器
首先,将面板与支架上的端子连接在一起,并用螺丝拧紧;
其次,连接设备的太阳能接口,需要将设备顶部的顶盖拉开,太阳能接口(空气插孔)在开关键的对面;将支架电源线的另一端插入接口,然后拧紧螺栓。完成太阳能板的安装。
6.安装完成
拉出设备顶盖后,按一下开关键,设备即可正常工作。建议待泥浆恢复正常后再恢复正常工作。
2.注意事项:
1、砂安装的要点
沙土安装与壤土标准安装步骤相同,需要注意的是要准备足量的水,不少于5L;直到有水出现为止。然后按照步骤慢慢将泥浆倒入孔内,大约是孔的1/2。其余安装步骤可参考壤土的安装。
2. 粘土安装要点
黏土的安装是在钻孔收集土壤后进行的,并清理杂质后,将黏土浸泡在水中4小时以上,使黏土变软,更容易活成相对均匀的浆液。浸泡后搅拌至浓稠即可灌浆。其余安装步骤可参考壤土的安装。
上一页:湿度传感器工作原理
下一页:土壤水分监测系统在水田中的应用
相关推荐
相关产品
服务热线